


The value of dehumidification during warm weather is fundamental to a healthy lifestyle. An AprilAire Whole House Dehumidifier provides several benefits that can make life comfortable for you this summer. Though it may seem simple to install, putting this dehumidifier together can be more difficult.
To be safe, we’d recommend hiring a professional. If you attempt to DIY, there’s a chance you may hear noises and become unsure whether you’ve received a faulty device. Since this is an excellent investment in your home, it’s a good idea to take the time and follow these steps before jumping to conclusions should you attempt to set the dehumidifier up yourself.
Here are 8 installation tips you should follow:
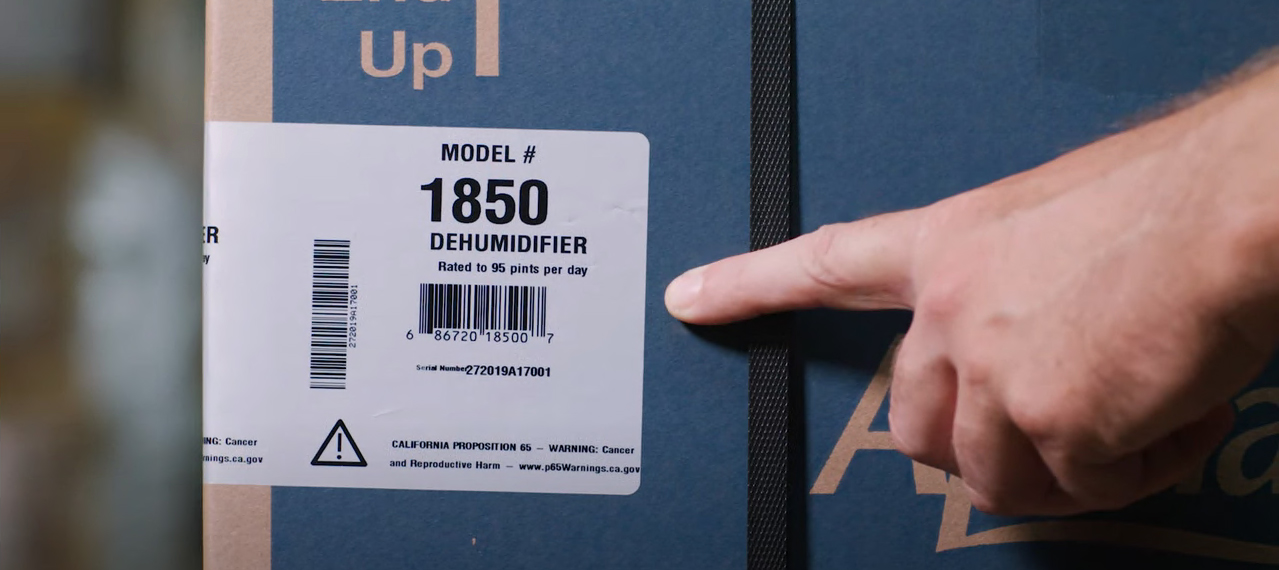
1) Verify the Label
Sometimes we receive products that aren’t exactly what we ordered.
It happens!
Check the box. On the side should be the model number details. This will verify whether you’ve received the right device. It is also essential to be able to look up troubleshooting information specifically for your dehumidifier model.
2) Register your dehumidifier
After you’ve verified that you received the correct model, you should check for the serial number to register it. The serial number should be below the model number on the packaged box. It’s important to register so that you guarantee your warranty.
With the warranty, you can receive a brand-new dehumidifier without spending extra if it hasn’t expired.
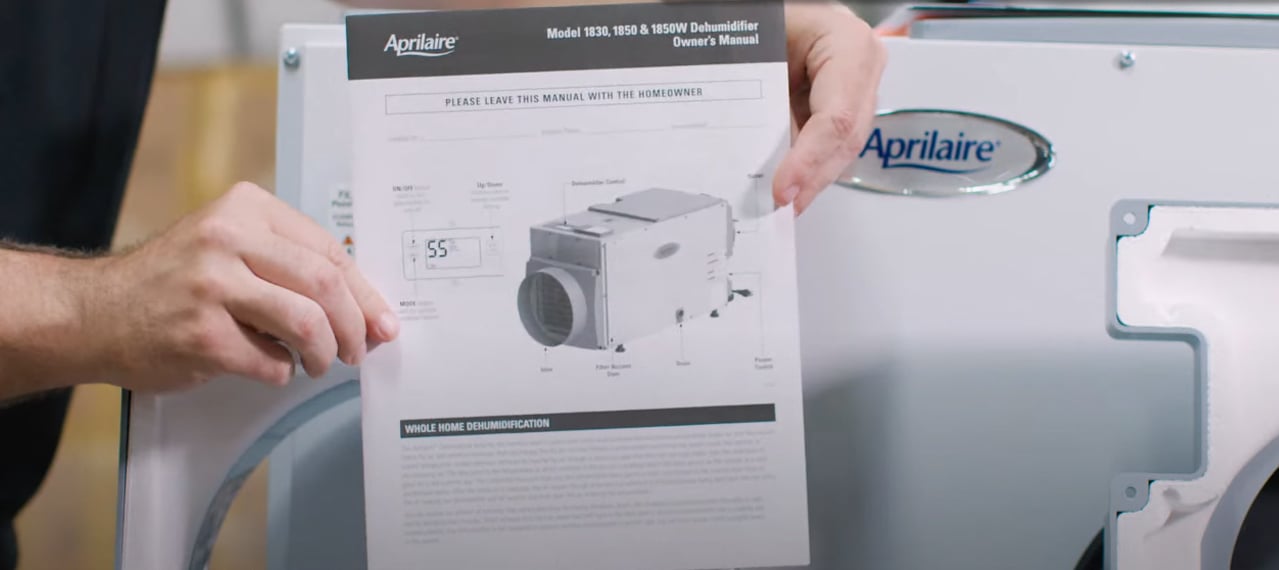
3) Read all instructions before attempting to install!
You may be an experienced DIYer, but slowing down and reading all the instructions can be beneficial. It’s easy to overlook an important detail that may be the difference between smoothly installing your dehumidifier and a difficult one.
AprilAire Whole House Dehumidifiers come with a parts list sheet. Read through this sheet and ensure you have all the required pieces.
Improper installation can damage your dehumidifier or, worse, cause personal injury. Though it may seem like a simple step to skip, we highly recommend doing so!
4) Wait 24 hours before running the unit if it was not shipped or stored in the correct position.
Manufacturers attempt to provide every product in pristine condition, but they’re not perfect. It’s also possible that the shipping company didn’t notice how it was handled. Either way, if you notice that the unit wasn’t positioned correctly, you should wait 24 hours before attempting to run it.
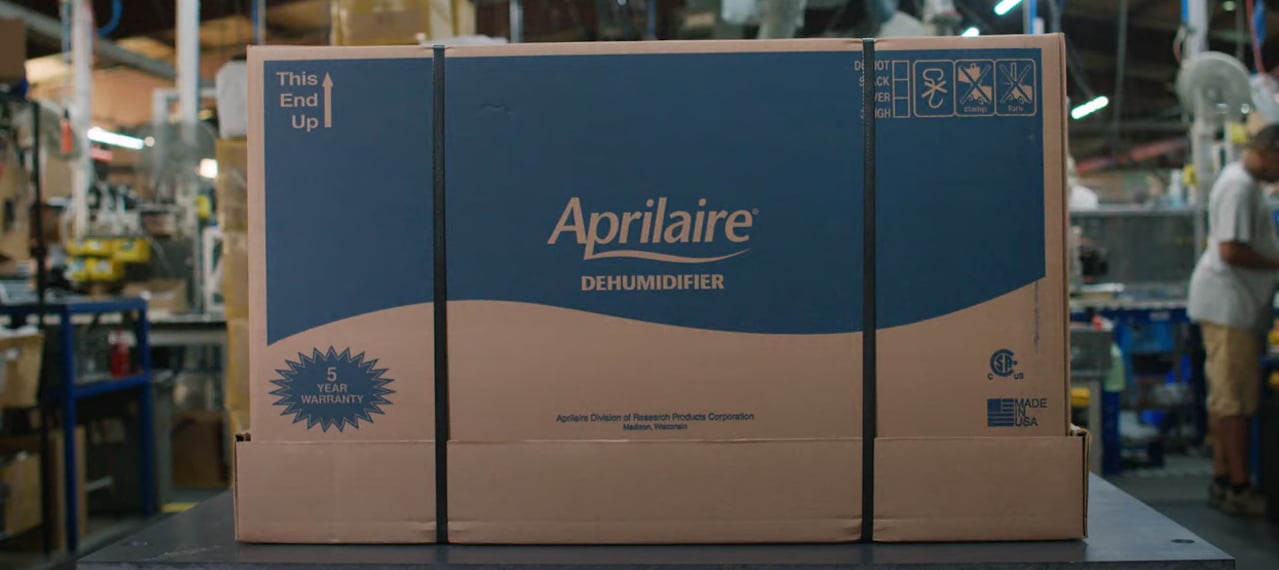
So, what is the proper position?
The AprilAire boxes in which the dehumidifier is contained have arrows on the side that show which way the box should be facing. A quick tip is that the opposite end of the lid should be facing up. When you open the box, the AprilAire logo should be upright. This should be the case even if you decide to pack it up for storage or when moving, so keep it in mind!
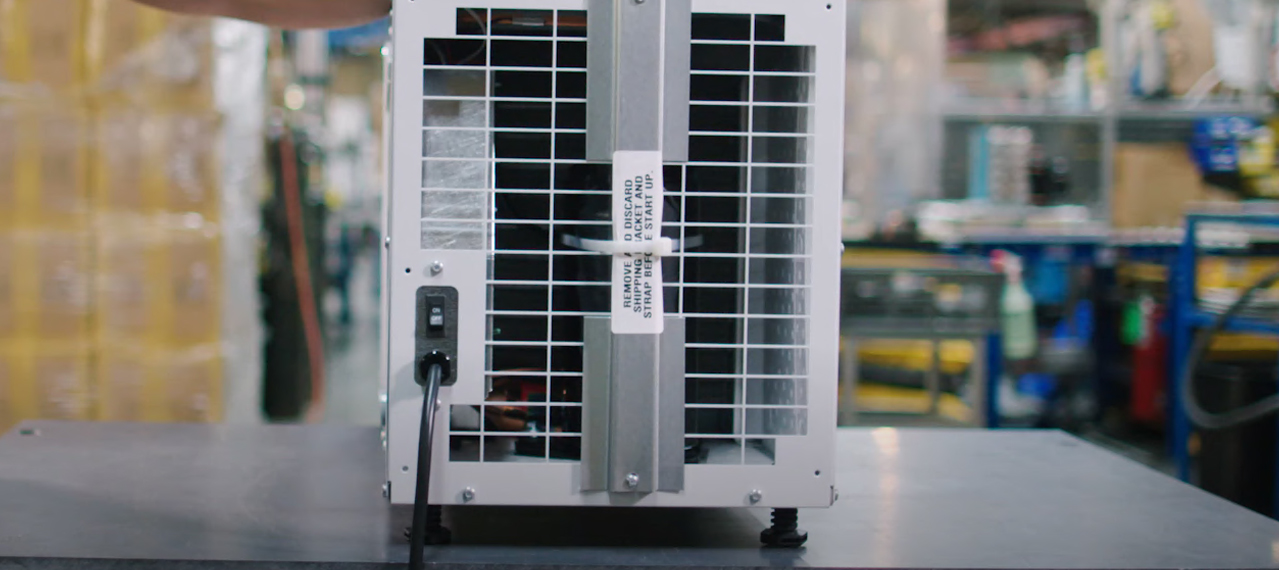
5) Safely remove the shipping bracket!
Removing the shipping bracket is crucial to installing your dehumidifier. The bracket can easily get caught on the insulation on the inside of the device. A small tool, such as a screwdriver or perhaps a butter knife, can help you pry it away from the zip tie.
During this step, take care to ensure that no small pieces of the bracket are left inside the dehumidifier, causing a ruckus.
6) Ensuring the Dehumidifier is level BEFORE installing the drain assembly.
If you decide to install your AprilAire Dehumidifier yourself, when you’re getting ready to connect the drain assembly you should pay attention to this step. Making sure the device is level is essential so that you can ensure that proper draining occurs. To do this, take a level and place it on the unit.
Adjust the pre-installed leveling feet to achieve perfect balance if the dehumidifier is off-level.
7) Become familiar with the AprilAire Dehumidifier Diagnostic Codes
Like a doctor can diagnose your condition when you come in for an emergency visit, your dehumidifier will supply codes to give you an idea of what’s wrong with it. Learning these codes or at least being familiar with them will help you troubleshoot issues.
Some of the diagnostic codes are as follows:
Code E1 – Internal Humidity or Temperature Sensor Failure
This code appears when your AprilAire dehumidifier has a faulty user interface.
Code E2 – High Refrigeration Pressure
This means you have an issue with the fan not operating efficiently because of an external obstruction. If you want further explanation, click the button below to watch a video on this error.
Code E3 – Remote Control Communication Loss
If you see this code, the remote humidistat and the dehumidifier are having trouble communicating. For troubleshooting assistance, click the button below to watch a video about this issue.
Code E4 – Insufficient Capacity
An occurrence of this error means that the dehumidifier recognizes a difference between the temperature of the air coming in and the temperature of the refrigerated coil.
Code E5 – High-Temperature Thermistor Failure
A display of this code means that an internal temperature sensor has identified an open or short circuit. Click the button below to watch a short video detailing troubleshooting tips for this issue.
There are 10 diagnostic codes in total, and just in case you can’t recall them all, make sure you have a troubleshooting manual handy. Even if you can’t fix the problem yourself, it will help you better describe it to your repairman.
AprilAire Dehumidifier Diagnostics Codes
8) Use proper tools and ensure every screw is secured.
Any noise coming from your dehumidifier could be because the screws weren’t secured upon installation. A loose screw can damage parts of the device, so it’s vital to ensure this step is completed correctly.
Use the proper tools during this process. A good screwdriver, a small flathead screwdriver, nose pliers, and a level are all recommended.
If it is noisy, unplug the dehumidifier. Examine the screws on the front grille and the screws around the fan motor housing. If the noise continues, check the fan for any other possible blockages.

Beating the heat and avoiding extra costs
To sum up, the benefits of having a dehumidifier during the summer can’t be beaten, but you should be mindful of these things if you decide to self-install. Verifying your device, reading all instructions, taking your time, and using the right tools are essential tips.
If you’re a visual, determined do-it-yourselfer, sometimes it’s best to go to the source if you have any issues. AprilAire is an excellent company with many resources, such as this installation video, that can help you complete the job.
However, if you have any questions or doubts about doing this process manually, it’s probably best to get it done professionally. Not only will it save you the headache of figuring this out, but it could also possibly save you money.
Brandon says
Hello Nick, thanks for your feedback!
Nick Seibert says
Your #2 comment is incorrect in regards to registering the product for the 5 year warranty. I spoke with Apriaire direct and they said that the 5 year warranty is for parts only, not labor. So this means that you will definitely not receive a new unit under warranty.as you stated. Please let me know if I am incorrect. I am shopping the different brands as I need to he purchasing one soon for my crawl space issues.. I was disappointed when I heard of their poor warranty. Nick 567 337 9385